Jun 14, 2018
How To Photo Booth
I don't mean those fun photos you take with friends in arcades that can be printed as teeny stickers, sorry.
If you've been in Japan for more than a week, you'll know you need recent 3 x 4 cm photos for so many things. First the residence / zairyu card, maybe the resume, then the visa renewal later for the new ID card. If you haven't arrived yet, here's what to expect when you live in Japan.
Maybe you're using a smartphone app to take your own photos and print them in the nearest convenience store. I find it's tough to get good lighting when taking the photo myself. There's also the problem that one shoulder is obvously higher while taking a selfie, and finding someone to take a good photo isn't always easy. If you're not taking your own, you can find one of these photo booth machines in random places all over the country. If you want to print them before moving to Japan, just be aware that the size and / or backgrounds may not be what they're looking for in Japan.
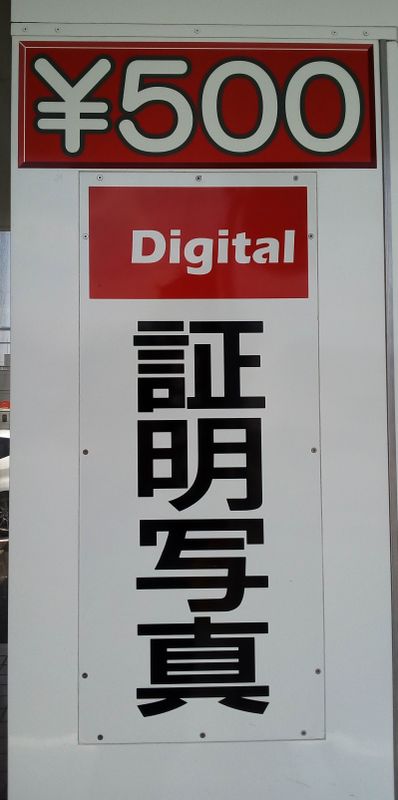
Look for this: shomei shashin
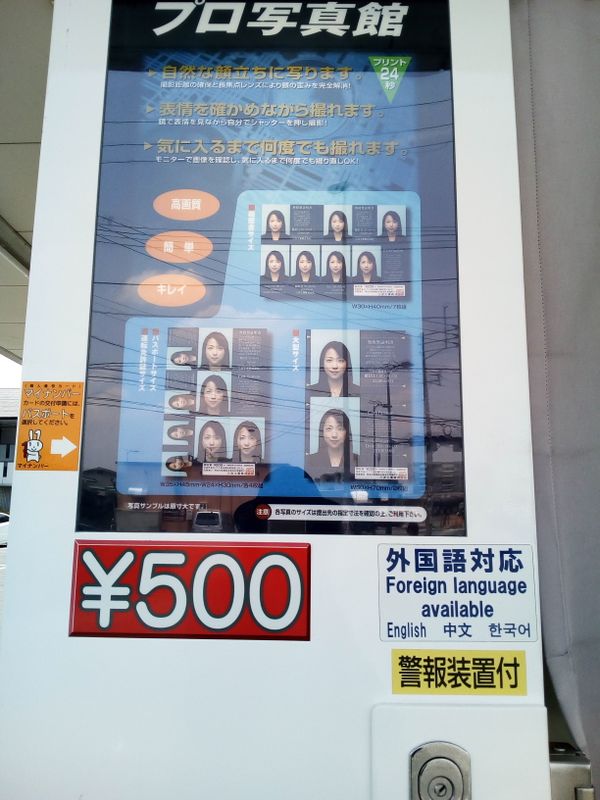
The shomei shashin or resume photo comes in a few sizes, but the smallest, 3 x 4 cm is common. Always check what size you need before stopping by your local booth. You'll usually get at least four copies of the small size, sometimes seven or eight. They should have the date printed on them so you know if they are recent enough the next time you need a photo. Most departments require three or six months new photos, with a white or light colored background, looking straight at the camera, and not wearing sunglasses or a hat. I always take off my glasses for good measure. I get the idea that one should not smile in these photos. Or rather show any emotion at all. Wearing a nice shirt is recommended.
The Price
The set of photos will cost you from 500-1000 yen depending on size of city and proximity to a station. Some booths will offer 'kira kira' effects to make you 'more beautiful' for an extra fee, but that's not exactly what we're going for on the resume. Considering that printing your own is under 100 yen, it isn't the absolute cheapest way to go, but if it takes you up to an hour to get a good photo on your own, the photo booth is more convenient.
The Machine
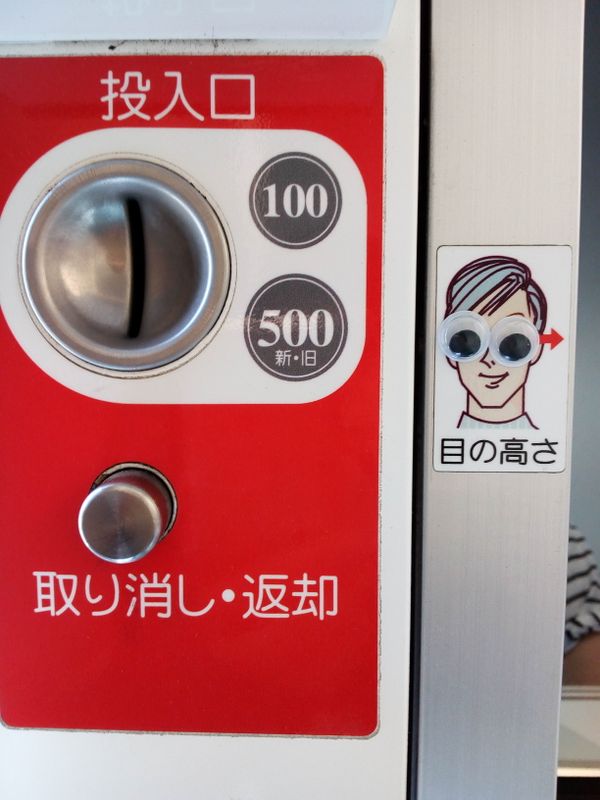
Step inside, you'll probably be greeted and asked to put money into the coin / bill slot to get started. If there is a language option (sometimes shown as available on the outside for easy reference, like in the photo), choose that to keep things simple. Make sure you close the curtain to block out any strange lights (or people staring at you).
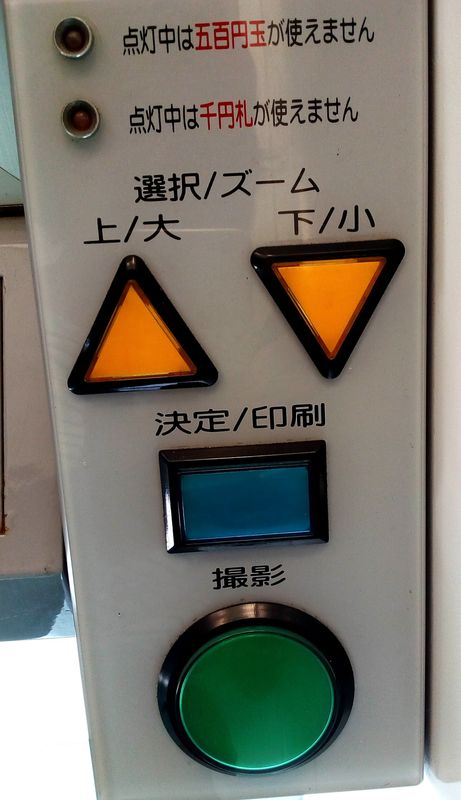
The machine I use has a stool which can be spun to adjust the height. There are buttons to adjust both your size and position: up or big and down or small. The up and down is mostly just for selection of language and size as the stool should work well enough for your position. There's also a selection button marked 決定 (kettei) or decision. There's another big button for taking the photo. Images will show on the screen to guide you about which buttons to use. That's about it.
The Process
After adjusting the height of your stool so your eyes are level with the marks shown, you can sit down and add your money. This is where the language selection should be. Down to select and press the 'decision' button. Next you will choose the size, same thing.
There will be a couple of horizontal lines to center your head between. This is where you can use the big / small buttons to fit your head into that space on the screen. Also check to make sure you're centered in the screen vertically.
Once things seem right, there will be a prompt to click the green button to take your photo. This is where there can be some differences between machines. It's possible to get a decent shot on your first try, but sometimes we blink or just don't like the shot. Most machines will give you at least two tries and let you choose the better photo. The reason I like the machine I use is not only that it's the cheapest I've seen, but also it lets you take pictures forever until you like one (but has no option to compare between photos).
After taking your photo, most machines will let you take one or two more and compare, then select the shot you want to print. The machine I use just prints the photo if you don't take another one within 30 seconds or something.
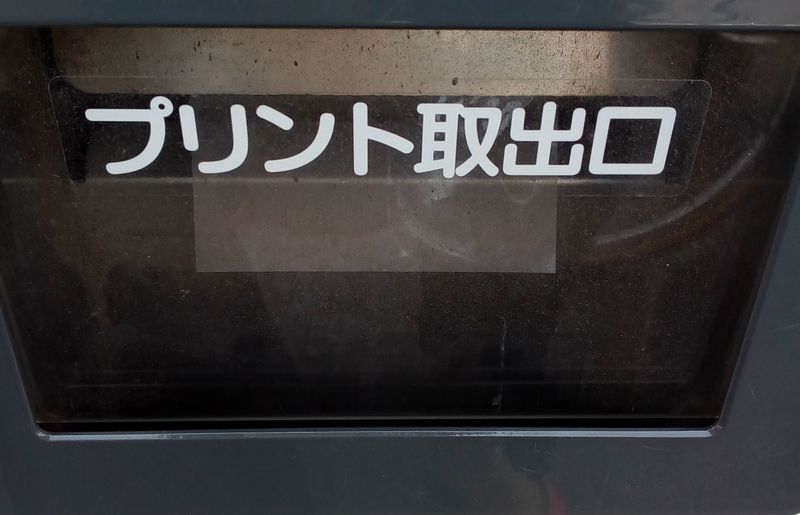
You'll pick up your photo from the outside of the machine. They print super fast, usually less than 30 seconds later.
You're set! But the photos will be on one card, and you'll need to cut them out for using them. I recommend using a papercutter for this if possible, rather than scissors. I also recommend bringing something with you (like a file or big envelope) to keep the photo safe and flat.
Happy residence card getting and job applying!


0 Comments