Feb 7, 2019
How To Create Your Own LINE Stickers
Raise your hand if you use the messaging app LINE!
In Japan, it's common to use LINE to stay in touch with friends, family, and work-related people. If you don't use it, I'm guessing you've heard of it, because someone has probably asked you to add them as your friend on LINE.
If you don't have a LINE account but you live in Japan, I recommend it for staying in touch. Plus, you can use cute 'stickers' to communicate with your friends. There are LINE characters and free stickers available, but there are also stickers made by users (from professional illustrators to normal folks like you and me) that you can buy starting at 120 yen per set of 8-40 stickers. (Most stickers that you purchase are for unlimited use, although some of the free stickers are available for a limited time.)
Interested in making your own stickers?
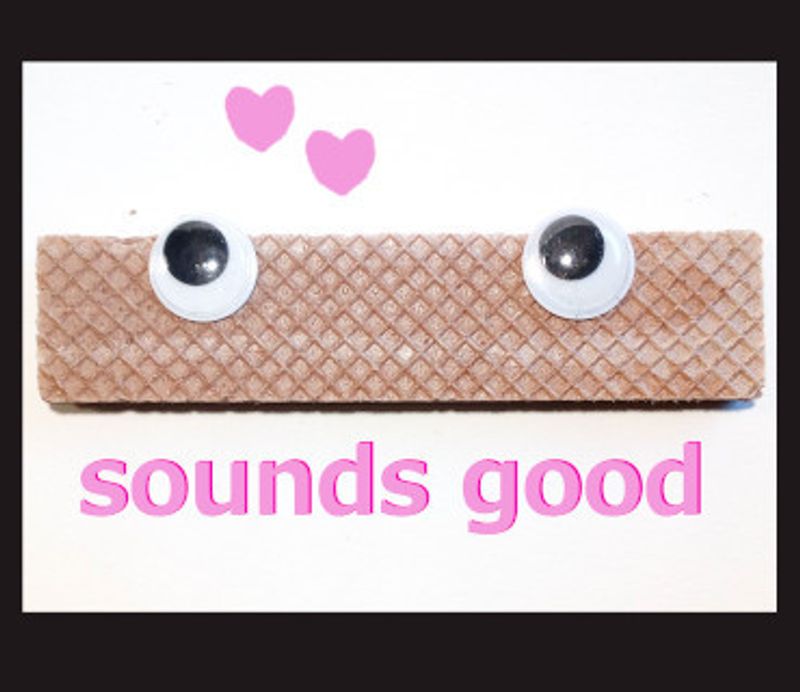
I made mine (photo above, called "Googly Eye Candy") because I wanted to use stickers I made myself, but also because if I make some nice stickers and others buy them, I can earn a little 'passive income.' I like this idea a lot, although I have a long way to go in terms of learning how to market my products and will work on creating better quality stickers each time.
Step One: Create your LINE account (via the app on your smartphone or computer). There is a PC version if you don't have a smartphone, but you can use both with one account depending on your preference.
Step Two: Log in with your LINE account info on LINE Creators Market. Here's the link for the LINE Creators Market.
Step Three: Design!
The site will prompt you through all the info about how to design and set up your stickers. I used a freeware called GIMP, but you can design in Photoshop / Illustrator, or whatever you like. Check the specs but you'll want .png files, transparent backgrounds, a resolution of 72 ppi minimum, and sticker size 370 x 320 pixels (plus a 'main' image and 'tab' image with different sizes).
Step Four: Upload
Write up your title and description, upload your images, test them out in the simulator and get all excited, choose your price, then hit that Request button.
Step Five: Release
After the sticker - staff approves your files (up to a week later), you can go in again to Release your sticker set.
Step Six: Promote!
Finally, you can buy your own stickers to use (with some of those LINE Points you accumulated from my Side Hustle article?) and promote them for others to buy. You can also purchase stickers as a gift for someone else.
I saw revenue of 31 yen for each (120 yen) sale in my account after purchases. This is before the bank transfer fee each time you request payment.
If you get in on one of LINE's seasonal sticker promotions, you'll have a free marketing push on their end, but I'm not sure what kind of results it will get you. My first set of stickers was part of their Feel The Love promotion, for Valentine's Day this year. I created two sets - one with English text and one with Japanese text on the stickers. I'm enjoying using stickers I made myself.
I also set up a sticker set on the site Red Bubble using some of the same (English) images.
It was primarily for fun that I made these stickers - my background is in photography and design. Of course I appreciate any sales or smiles my designs bring to others.
Are you gonna make your own now?


1 Comment
edthethe
on Mar 7
thanks for this!