Aug 18, 2014
The 'How?' and 'How Much?' of Cooking Rice
Living in Japan and not having a go at cooking your own rice is surely only surpassed by not learning how to say some threadbare Japanese greetings, in the reluctant/overwhelmed foreigner stakes.
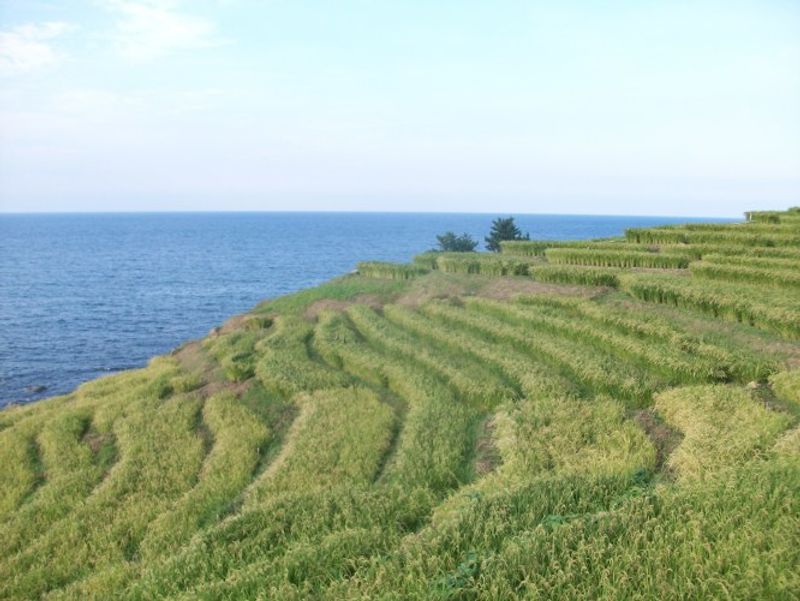
No excuses people! Cooking rice is (pretty) easy, (pretty) quick, requires zero Japanese and only a few yen. And it's vastly cheaper than bread, potatoes, and pasta. Oh, and rice fields look pretty (hence the gratuitous rice field picture above!).
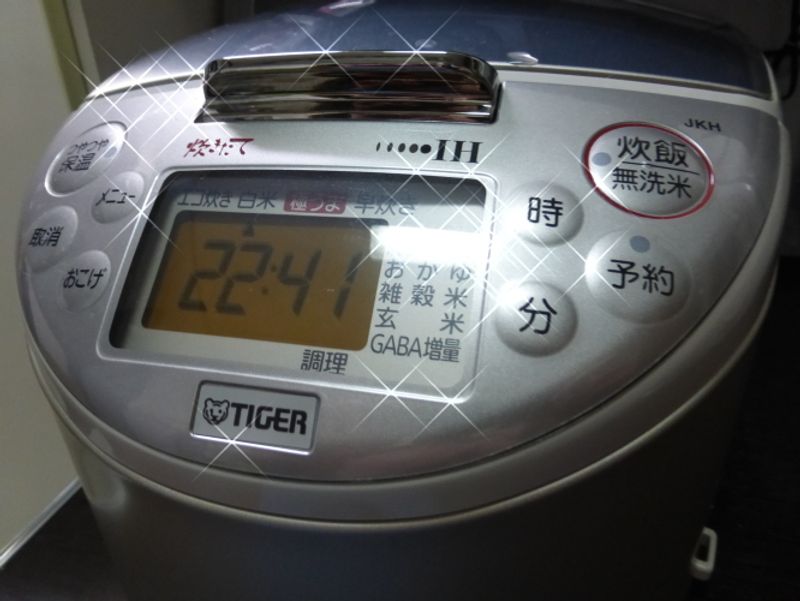
Step 1 – The Rice Cooker
The first step towards nice rice is to buy a rice cooker. It's true, you could make do with a simple sauce pan, but a rice cooker infinitely reduces the possibility of your rice coming out like stodgy goop! Plus, it impresses the locals. Electronics stores usually have myriad rice cookers to chose from. At the cheap end of the scale you could come away with a bit of kit for around 3,000 yen. 100,000 yen, (yes, 100,000 yen) will get you something with more functions than a NASA probe to Mars!
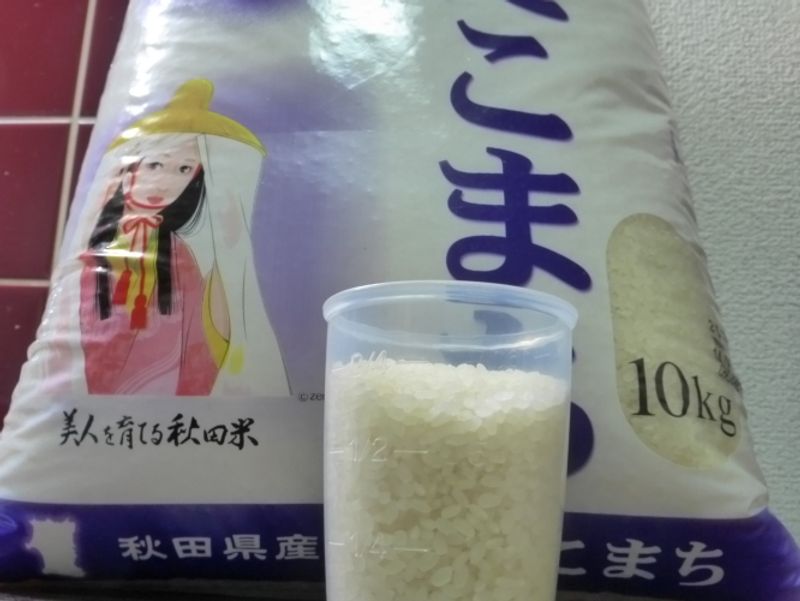
Step 2 – The Rice
Your average Japanese homemaker knows more about the size, shape, and origins of their rice than you thought possible. For the layman though, choosing rice comes down to cost and quantity. Even then, would you really be able to taste the difference between a 2000 yen bag of rice and one for twice the price? Supermarkets tend to sell rice in 5 kg and 10 kg bags. A cheap 5 kg costs around 1,500 yen. If you live solo and consume a bowl a day, this writer's crude calculations conclude that it'll last for five months!
Step 3 – The Wash
Yes, even rice likes a good scrub. Although bath sharing is not advised! Scoop out a single serving of 160 g into a bowl, pour in some cold water and give it a mix with your fingers. Drain and repeat at least three times. On a side note, some locals say the drained rice water is good for scrubbing pans, and washing ones face!
Step 4 – The Wait
Put your washed/drained rice into the cooker and fill with cold water to the 'level 1' mark. Close the lid. Whilst you may be tempted to press 'Go' straight away, for extra special taste and form, let it sit for 30 minutes.
Step 5 – The Cooking
Plug in and press 'Go' (炊飯)! Simple as that. A timer will sound when it's finished. Times vary depending on how much clout is in your cooker.
Step 6 – The Second Wait
Patience is a virtue in all things, including rice! Before you open the lid, let things sit once more. 15 minutes should do it.
Step 7 – The Consumption
Your rice is done. Shoe stringers or culinary philistines should head down to a 100 yen store for some furikake. Sprinkle this Japanese style seasoning/flavoring on the rice and you've a simple meal for a mere … 120 yen?!
Rice can be frozen for consumption at a later date. Wrap servings in film and pop in your freezer. If you have one! Oh, and you'll need a microwave for the defrosting. Right! Back to the electronics store!


2 Comments
on Sep 10
Tom, you're hilarious - I love the section titles (helpful and telling). While consumption is my favorite, I also appreciated the intro. Kudos! @mariafalvey
KamaT
on Sep 13
Thanks @mariafalvey - you're very kind.