Jan 25, 2024
A Guide To Using Flu Test Kits in Japan
Gallery
As flu season descends upon Japan, staying vigilant about our health becomes paramount. Fortunately, flu test kits provide a convenient way to check for influenza from the comfort of your home.
I'll walk you through the simple yet effective steps on how to use a flu test kit.
Step 1: Choose a Reliable Flu Test Kit
- Before beginning the process, ensure you have a reliable flu test kit. These kits are widely available at pharmacies throughout Japan as well as online shops.
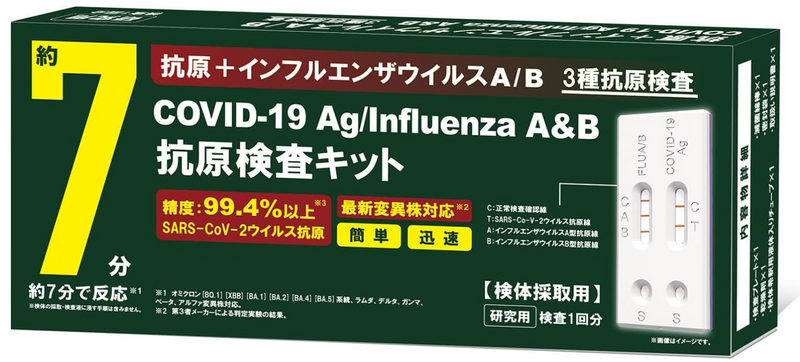
- It's important to select one that suits your needs and preferences. One of many test kits available online is Shinkami Pharmaceutical 2024 Novel Coronavirus and Influenza A/B Antigen Test Kit.
https://www.amazon.co.jp/-/en/Pharmaceutical-Influenza-Simultaneous-Inspection-Coronavirus/dp/B0CK1D5N6T/ref=sr_1_2?crid=3PL749XA6W7XT&keywords=flu+test+kit&qid=1705724603&sprefix=flu+test%2Caps%2C175&sr=8-2

Step 2: Read and Understand the Instructions
- Thoroughly Read the Instructions: Take a few minutes to carefully read through the provided instructions. Each flu test kit may have specific guidelines, and understanding them is crucial for accurate results.
Step 3: Gather the Necessary Materials
- Kit Components: Ensure you have all the components laid out, including the testing strip, swabs, and sample collection containers.
Step 4: Prepare for Sample Collection
- Wash Your Hands: Begin by washing your hands thoroughly to minimize the risk of contamination.
- Assemble Swab: Unpack the swab provided in the kit. Confirm it is in good condition and has not been compromised.
Step 5: Collect the Sample
- Select Sampling Site: Depending on the kit, choose whether to swab the inside of your nose or the back of your throat. Follow the kit's recommendations for optimal results.
- Gently Swab: Gently insert the swab into the designated area and follow the kit's instructions for proper swabbing techniques.
- Place in Collection Container: Transfer the swab into the sample collection container provided in the kit. Seal it securely following the guidelines.
Step 6: Apply the Sample to the Testing Strip
- Remove Testing Strip: Take out the testing strip from the kit.
- Apply Sample: Transfer the sample onto the designated area of the testing strip as instructed. Ensure that the sample is applied properly for accurate results.
Step 7: Wait for Results
- Observe Development Time: Allow the testing strip to develop for the specified duration mentioned in the instructions. This typically takes a few minutes.
- Read Results: After the development time, inspect the testing strip for any lines or indicators according to the provided guidelines.
Step 8: Interpret and Act Accordingly
- Positive Result: If the test indicates a positive result, it is advisable to seek medical advice promptly for confirmation and appropriate care.
- Negative Result: A negative result suggests the absence of influenza. If symptoms persist, consult a healthcare professional for further evaluation.
Step 9: Dispose and Clean Up
- Dispose of Materials: Safely dispose of used materials according to the provided instructions.
- Maintain Hygiene: Wash your hands thoroughly after completing the test to minimize any risk of contamination.
By following these step-by-step instructions, you can efficiently and confidently perform the test at home. Remember, for any uncertainties or severe symptoms, consulting a healthcare professional is always advisable.
Stay well and take charge of your health this flu season!


0 Comments